Contents
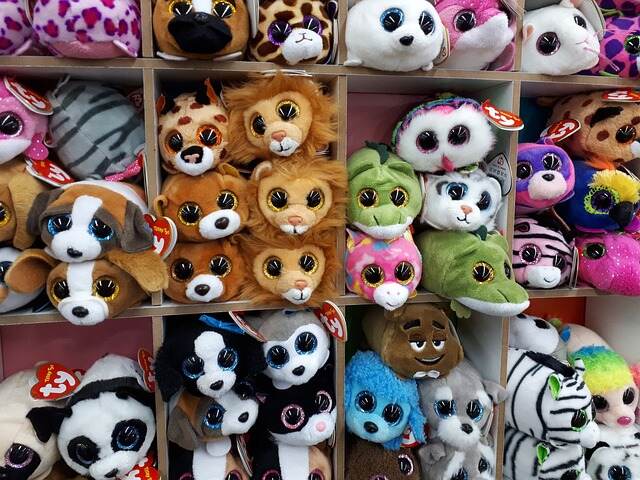
- 1 Introduction to Plushies
- 2 Why Make Your Plushies?
- 3 Materials Needed for DIY Plushies
- 4 Step-by-Step Guide to Designing and Making a Plushie
- 5 Tips and Tricks for Creating Unique Plushies
- 6 Personalize Your Plushie: Adding Accessories and Details
- 7 Care Instructions for Your Handmade Plushie
- 8 Conclusion
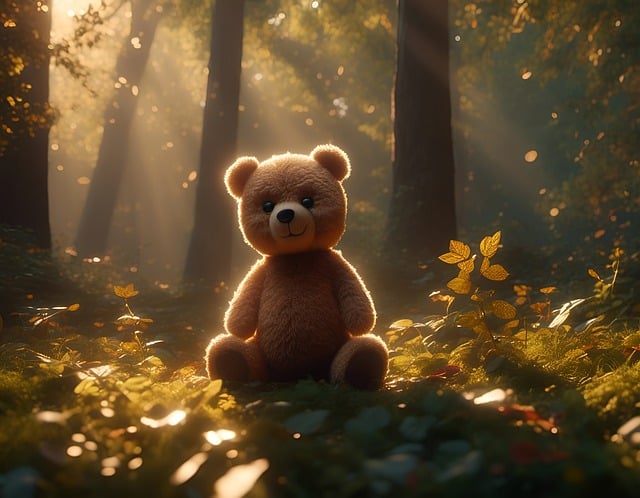
Introduction to Plushies
Welcome to the delightful world of plushies! These cuddly companions have captured the hearts of people young and old for generations. From adorable animals to whimsical characters, plushies bring comfort and joy. But why settle for store-bought options when you can unleash your creativity and make your very own plushie masterpiece?
In this blog post, we’ll share some DIY tips to help you design and craft unique plushies that reflect your style and imagination. So get ready to dive into a world of fuzzy fun as we guide you through creating your handmade plushie!
Why Make Your Plushies?
Creating your plushies can be a rewarding and fulfilling experience. Not only do you get to unleash your creativity, but you also have the opportunity to design unique toys that reflect your style and preferences.
One of the main reasons why people choose to make their plushies is customization. When you create your stuffed animals, you have complete control over their design. From choosing the fabric colors and patterns to deciding on the shape and size, it’s all up to you.
Another motivation for making plushies is sentimental value. Handmade toys often hold special meaning because they are crafted with love and care. Whether it’s a gift for someone special or something for yourself, knowing that your hands made each stitch adds extra significance.
Furthermore, making your plushies allows you to explore different techniques and improve your sewing skills. With each project, you’ll learn new tricks and gain confidence in creating more complex designs. It’s a great way to challenge yourself creatively while honing a practical skill.
In addition, DIY plushie-making can also be cost-effective compared to buying ready-made ones from stores or online shops. You can significantly reduce expenses by sourcing materials wisely and using scraps or repurposing old fabrics while still achieving professional-looking results.
Ultimately, one of the most compelling reasons for making your plushies is simply the joy it brings. The process is enjoyable and relaxing – from brainstorming ideas for designs to seeing them come alive as finished toys in your hands – there’s something magical about bringing these cuddly creatures into existence through sheer imagination and creativity.
So whether you’re looking for a creative outlet, want customized gifts or decorations that will stand out from store-bought options, or enjoy crafting adorable companions with a personal touch, designing & making handmade plushies offers endless possibilities!
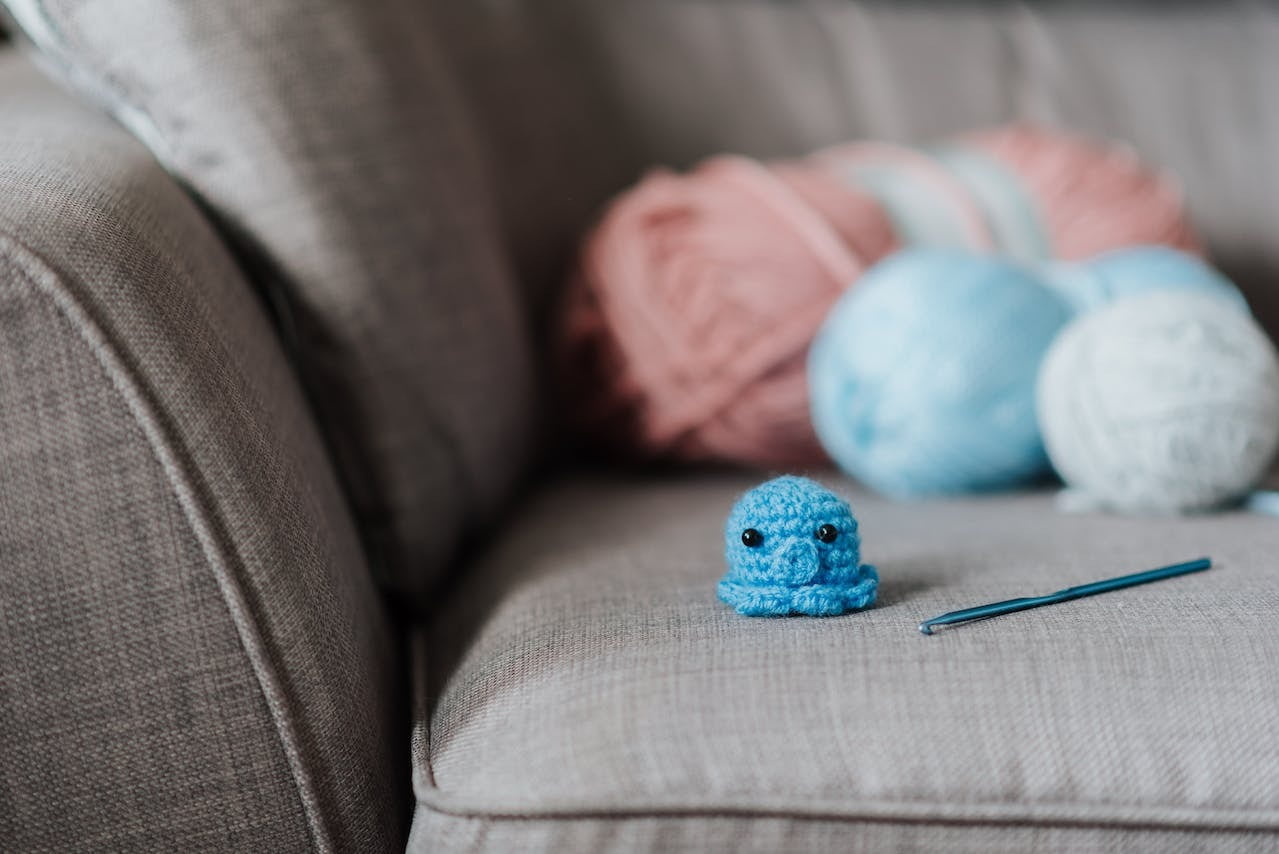
Materials Needed for DIY Plushies
When designing and making your plushies, having suitable materials is critical. Here are some essential items to bring your cuddly creations to life!
1. Fabric: Choose a soft and durable fabric that will be comfortable to snuggle with. Popular fabrics for plushies are minky or fleece.
2. Stuffing: The filling gives your plushie its shape and squishiness. Polyester fiberfill is widely available at most craft stores and is frequently used.
3. Scissors: A good pair of sharp scissors will come in handy for cutting out your plushie pattern and trimming any excess fabric.
4. Sewing Machine (or Needle and Thread): While sewing by hand can be done, using a sewing machine will make the process faster and more efficient.
5. Pins or Clips: These tools help hold the fabric together while you sew, ensuring everything stays in place as you stitch.
6. Embroidery floss/thread adds details such as eyes, mouth, or other embellishments on your plushie’s face.
7. Marking tool: Whether it’s disappearing ink pens or tailor’s chalk, having something to mark where you want to sew can be helpful during construction.
8. Optional Extras: Depending on your design, you may need buttons, ribbons, felt pieces, or other decorative elements to personalize your plushie.
Remember that these materials are just the basics – feel free to get creative with additional supplies based on your specific design ideas! Happy crafting!
Step-by-Step Guide to Designing and Making a Plushie
Step 1:
Choose your design. Take some time to think about what kind of plushie you want to create. It could be an animal, a character from your favorite movie, or even a unique creation you’ve imagined.
Step 2:
Gather your materials. You’ll need fabric, stuffing, thread, needles, scissors, and any additional accessories you want to include on your plushie.
Step 3:
Create a pattern. Start by sketching out the shape of your plushie on paper. Once you’re satisfied with the design, trace it onto a piece of cardboard or sturdy paper to use as a template.
Step 4:
Cut out the pieces. Place the template onto the fabric and carefully cut around it, leaving some extra space for sewing allowances.
Step 5:
Sew the pieces together. Using a needle and thread, begin stitching along the edges of your fabric pieces according to your design. Don’t forget to leave space for stuffing!
Step 6:
Stuff your plushie. Take small handfuls of stuffing and gently push them into each section of your plushie until it feels soft and cuddly.
Step 7:
Close up the opening. Sew up the remaining opening using tiny stitches or a ladder stitch (a nearly invisible stitch) to secure all that fluffy goodness inside.
There you have it – step-by-step instructions for designing and making your adorable plushies! Get creative with different fabrics, colors, and designs; experiment with different shapes and sizes; add unique details like embroidered features or cute little accessories – let your imagination run wild! Making these DIY plushies is fun and allows you to personalize every aspect of their creation.
Tips and Tricks for Creating Unique Plushies
1. Choose the Right Fabric: Your fabric is crucial in bringing your plushie to life. Opt for soft, durable materials like fleece or minky fabric that are easy to work with and provide a cuddly feel.
2. Experiment with Different Designs: Be bold and think outside the box when designing your plushie. Mix different animal features, add quirky accessories, or create imaginary creatures. Let your imagination run wild!
3. Get Creative with Embellishments: Adding unique details can make your plushie stand out. Consider using buttons for eyes, embroidery thread for intricate designs, or even appliqué patches to add personality and charm.
4. Incorporate Texture: Give your plushie an extra dimension by incorporating different textures into its design. You could sew on faux fur accents, attach ribbons or bows for added flair, or use textured fabrics like corduroy or velvet.
5. Use Quality Stuffing: The stuffing gives your plushie its shape and huggable quality, so invest in high-quality polyester fiberfill that won’t clump over time. Make sure you stuff it evenly throughout to achieve a smooth finish.
6. Practice Proper Sewing Techniques: To ensure durability and a professional finish, take the time to learn basic sewing techniques such as backstitching at the beginning and end of seams and clipping curves before turning them right side out.
7. Rely on Patterns and Templates: If you’re new to plushie making, start by using pre-made patterns or templates available online or in craft stores—they’ll guide you through each step while allowing room for customization.
8. Explore Different Filling Options: Besides traditional stuffing materials, consider exploring alternative filling options like rice (for weighted toys)or scented herbs(for aromatic ones).
Personalize Your Plushie: Adding Accessories and Details
When making your plushies, the fun doesn’t stop at just designing and sewing them. You can make your creation unique and personal by adding accessories and details. Here are some tips for personalizing your plushie:
1. Accessorize with purpose: Think about what personality or character traits you want your plushie to have. They may need a cute bow tie or a tiny backpack for their adventures.
2. Get creative with fabric choices: Don’t limit yourself to just one type of fabric! Mix and match different textures, patterns, and colors to add depth and visual interest to your plushie.
3. Embroider small details: Use embroidery thread to add facial features like eyes, nose, mouth, or even eyebrows that can convey different emotions. You can also embroider patterns on the body or clothing of your plushie.
4. Add embellishments: Buttons, beads, ribbons, or small felt shapes can be decorative accents on your plushie’s clothing or accessories.
5. Consider removable accessories: If you want to change up the look of your plushie occasionally, consider making certain removable accessories so you can swap them out quickly.
Remember that adding accessories should enhance the overall look of your plushie without overwhelming it. Have fun experimenting with different ideas until you find the perfect combination that brings your creation to life!
Care Instructions for Your Handmade Plushie
Taking care of your handmade plushie is essential to ensure its longevity and keep it looking adorable for years to come. Here are some simple yet effective care instructions for your beloved creation.
First and foremost, always remember that most plushies are not machine washable. The delicate materials used in their construction can quickly become damaged or misshapen when subjected to the harsh cycles of a washing machine. Use warm water and a light detergent for spot cleaning instead. Dab the affected area with a soft cloth or sponge until clean, careful not to rub too vigorously.
If your plushie gets wet, let it air dry completely before handling or storing it. Placing it near a heat source or using a hairdryer may cause the stuffing inside to clump together or lose its fluffiness.
To prevent dust and dirt from accumulating on your plushie’s surface, give it a gentle shake outdoors occasionally. This will help remove any loose particles without causing damage.
When storing your handmade plushie, choose a clean and dry location away from direct sunlight and excessive moisture. Avoid placing heavy objects on top of it, as this can flatten its shape over time.
If you notice any loose threads or seams starting to unravel, take immediate action by carefully stitching them back together with matching thread. Regularly inspecting your plushie for signs of wear and tear will help prevent further damage.
By following these simple care instructions, you can enjoy the company of your handmade plushie for many delightful moments ahead!
Conclusion
Creating your plushies can be an enriching and delightful experience. From designing unique characters to bringing them to life with your hands, the process is filled with joy and satisfaction. Whether you are a seasoned crafter or just starting, making plushies allows you to tap into your creativity and express yourself in a fun and tangible way.
By following the step-by-step guide, you can embark on an exciting journey of design and creation. Experimenting with different materials, colors, textures, and patterns will enable you to bring your imagination to life in a cuddly form. With each stitch sewn and added detail, you’ll witness your creation take shape before your eyes – an adorable companion that reflects your style.
Not only does making plushies provide a creative outlet, but it also offers therapeutic benefits. Engaging in this craft can help reduce stress levels as you immerse yourself in the soothing rhythm of stitching or molding soft fabric into whimsical shapes. The repetitive motions can be calming for both mind and body while providing a sense of accomplishment when completing each project.
Furthermore, making handmade plushies allows for endless customization options. You have complete control over every aspect – from choosing the fabric patterns to adding personalized accessories or intricate details like embroidered features or tiny buttons for the eyes. This level of personalization ensures that each plushie becomes one-of-a-kind, truly representing who it was made for or what inspired its creation.
Let’s remember the bond between the creator and plushie throughout the process. As you pour love into every stitch or carefully glue on small embellishments, these creations become more than just stuffed toys – they become companions with memories of their maker’s dedication and affection.